Making a lovely backdrop with flowers is a great way to make any place or event look more elegant and charming. The way of attachment is the key to a beautiful floral backdrop, whether you’re getting ready for a wedding, a photo shoot, or a special event.
Double-Sided Tape: A Versatile Option
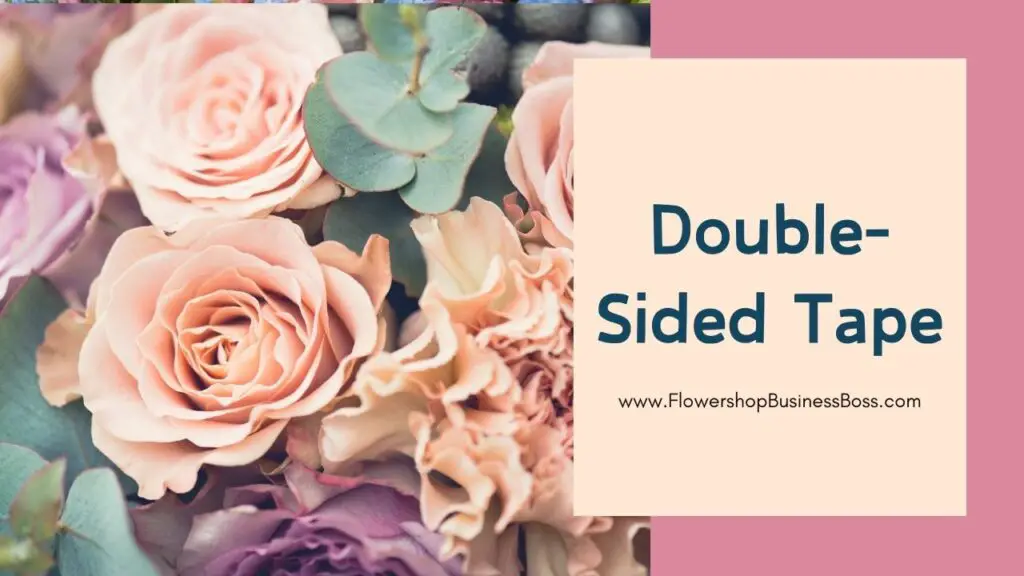
Using double-sided tape to connect flowers to a backdrop is flexible and easy to do. First, make sure that your backdrop’s surface is clean and dry. Dust and wetness can make the tape less adhesive, which could make it difficult to remove.
First, cut the double-sided tape into lengths that you can handle. The lengths will depend on the flowers’ size and weight. Carefully place the tape on the background so that it covers the whole thing properly for the best support. To keep the tape in place, gently press it against the background.
Read more about: Floral Finance Fundamentals: Demystifying Taxes for Your Floral Business
Adhesive Putty: Easy and Reusable
An easy-to-use and reusable option for sticking flowers to a background is adhesive glue. This choice is especially useful for temporary displays or when you want to be able to quickly rearrange the flowers.
Like with double-sided tape, make sure the surface of the backdrop is clean and dry before putting down sticky putty. Take a small piece of putty and roll it into a ball. Spread the glue out evenly on the back of the flower as you press it on. Then, press the flower hard onto the background to make sure it stays in place.
Wire: Ideal for Larger or Heavier Flowers
For flowers that are bigger or heavier, you may need a stronger way to connect them. To keep these blooms in place, wire gives the structure the support it needs. Pick out a wire diameter that is the right size and weight for the flowers you want to use.
For safety, put the wire through the flower stem and twist it around a few times. Make sure that the wire goes from the flower to the background. With tape or glue, hold the wire in place while you place the flower on the background. This method keeps bigger blooms from sagging or falling over because it makes them more stable.
Floral Adhesive: Precision and Long-Lasting Hold
With floral adhesive, you can stick flowers to a variety of surfaces. This choice gives an exact and long-lasting hold, which makes it perfect for intricate designs and long-term installations.
Use a little amount of floral glue on the back of the flower, focused on the spots that will touch the background. Hold the flower in place for a few seconds to let the glue stick. Press the flower onto the background. Remember that flower glue is strong, so be careful how you use it to avoid making things look messy.
Experimenting with Placement
Try putting flowers in different places before securing them, no matter what way you choose. Set the flowers up in the background, trying out different arrangements until you find the one that looks best. This step before attachment makes it easy to make changes and makes sure that the end display looks the way you want it to.
Think about things like the flowers’ color, size, and how far apart they are. By moving things around, you can make a background that fits with the general theme of your event or space and looks good.
To learn more about starting your own flower shop business check out my startup documents here.
Disclaimer: The information provided by FlowershopBusinessBoss.com (“The Site”) is for general informational purposes only. All information on the Site is provided in good faith, however, we make no representation or warranty of any kind, express or implied, regarding the accuracy, adequacy, validity, reliability, availability, or completeness of any information on the Site. Under no circumstance shall we have any liability to you for any loss or damage of any kind incurred as a result of the use of the Site or Reliance on any information provided on the Site. Your use of the Site and your reliance on any information on the Site is solely at your own risk. This blog post is for educational purposes only and does not constitute legal advice. Please consult a legal expert to address your specific needs. Terms and Conditions

Meet Shawn Chun: Entrepreneur and Flower Shop Business Fan.
I’m a happy individual who happens to be an entrepreneur. I have owned several types of businesses in my life from a coffee shop to an import and export business to an online review business plus a few more and now I create online floral business resources for those interested in starting new ventures. It’s demanding work but I love it. I do it for those passionate about their business and their goals. That’s why when I meet a floral business owner at a craft fair, farmers market, retail location, or anywhere else I see myself. I know how hard the struggle is to obtain and retain clients, and finding good employees all while trying to stay competitive. That’s why I created Flower Shop Business Boss: I want to help flower shop business owners like you build a thriving business that brings you endless joy and supports your ideal lifestyle.