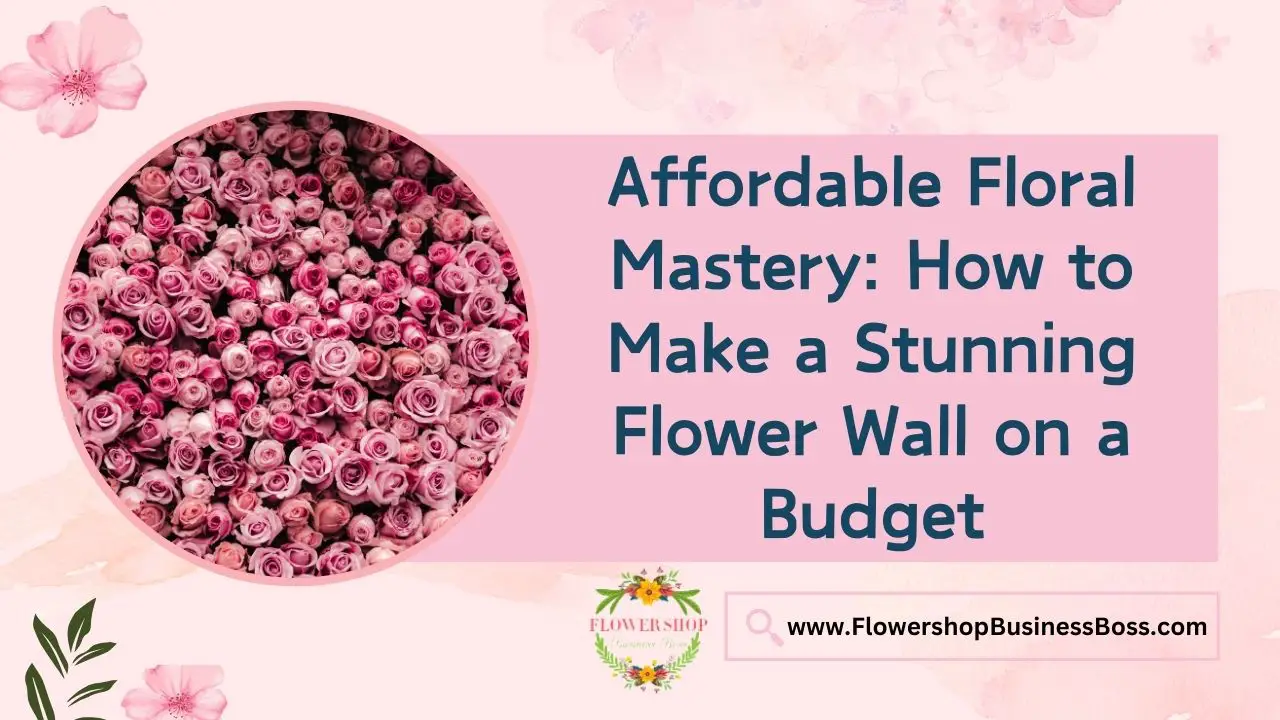
Starting the process of making a beautiful flower wall doesn’t have to cost a lot of money. Making a lovely flower backdrop can be a fun and inexpensive do-it-yourself project if you have the right tools and imagination. Get ready to change the look of your room with a beautiful, low-cost flower masterpiece.
Materials

Before you start building this cheap flower wall, you need to make sure you have the following things:
1. Artificial Flowers: There are a lot of different kinds and colors of fake flowers. Choose options that won’t break the bank, and think about buying in bulk to get the best deals.
2. Cardboard or Foam Board: The base material is very important. Choose a cardboard or foam board that is both light and strong, and make sure it can hold the flowers’ weight without drooping.
3. Hot Glue Gun and Glue Sticks: A good hot glue gun and lots of glue sticks are what you need to attach the flowers to the base firmly.
4. Scissors: These are very important for cutting out the flowers and the base material.
5. Marker or Pencil: Draw out your pattern on the base material with a marker or pencil before you start. This will help you figure out how to arrange the pieces.
Read more about: I Want to Learn How to Be a Florist: Crafting Fragrant Masterpieces
Planning Your Design
Planning carefully is the first step to making any artistic project work. You can draw your thoughts on paper or right on the base. If the flower wall is going to be at an event or in a public place, make sure the colors and patterns go with the atmosphere. Take a look at how dense the flowers are. You can get a lush look even on a budget. To improve your vision, look for ideas online, from event planners, or even from nature itself.
Once you’ve chosen a pattern, think about how big and round your flower wall will be. This first part of planning sets the stage for the whole project, making the next steps easier to follow and lowering the chance of mistakes during assembly.
Preparing the Base
With your plan in mind, it’s time to get the base ready. Make sure the cardboard or foam board is the right size for the room or backdrop before cutting it. If you want to make a bigger installation, safely connect several pieces. The base must be steady so that it doesn’t sag or bend under the weight of the flowers.
You could paint the base a neutral color that goes well with the flowers you choose. This background will make the flower wall look better overall by bringing out the colors and giving the whole thing a more cohesive look. Soak up all the paint before going on to the next step.
Choosing and Preparing Artificial Flowers
An important part of this low-cost project is choosing the right fake flowers. Choose flowers that fit your budget and go with the way you like things to look. There are a lot of craft stores that sell cheap choices, especially when you buy a lot of them. Use different flower shapes, sizes, and colors to give your work more depth and visual interest.
Cut off the stems of the flowers once you have them. Do not cut through the stems; leave a few inches to make it easy to attach them to the base. This step speeds up the process of putting the flowers on and makes sure they fit securely and smoothly on the foam board or cardboard.
Arranging and Attaching Flowers

Now comes the fun part: arranging the flowers and gluing them to the base. Start at the board’s base and work your way up. Using hot glue, stick the trimmed stem of each flower tightly to the base of the flower. If you use hot glue, the flowers will stay in place even in busy areas or while you’re transporting them.
You should pay close attention to spacing and depth as you go along. Putting the flowers close to each other will make the arrangement look bigger and more expensive. If you’re following a pattern, use your first sketch to help you figure out where to put each flower. To make your flower wall more interesting to look at, try putting different kinds of flowers together.
Keep adding flowers on top of each other and moving them around as needed as you go up. Take a break now and then to look at the big picture. This regular review will help you make any changes that are needed to get a result that flows well and looks good.
Read more about: Home Sweet Florist: Essential Tips for Launching a Floral Business from Your Living Space
Filling in the Gaps
After putting the main flowers in place, it’s time to fill in any holes or empty spots on your flower wall. This is where filler flowers or smaller flower heads come in handy. Place these in appropriate places to fill in any gaps or uneven spots that you see.
The goal is for the whole flower wall to have a balanced and unified look. Don’t be afraid to try out different flower arrangements until you find the right mix. The general density of your flower wall will be much higher after this step. This will give it a lush, fancy look without spending a lot of money.
Adding Finishing Touches
The last few things you need to do to finish your flower wall are now important. Take a step back and look at what you’ve made. To keep the look clean and professional, cut off any extra stems that you can see.
If you want to improve the general look, you could add embellishments. You can take the flower wall to the next level by adding fake plants, bows, or other decorative items. Use these lightly so they don’t take over the design, but just enough to make it look classy and unique.
Use this time to give it one last look and make any necessary changes to get the perfect balance and symmetry. Flower walls are beautiful not only because of their parts but also because of how well they fit together to make a whole that looks great.
To learn more about starting your own flower shop business check out my startup documents here.
Disclaimer: The information provided by FlowershopBusinessBoss.com (“The Site”) is for general informational purposes only. All information on the Site is provided in good faith, however, we make no representation or warranty of any kind, express or implied, regarding the accuracy, adequacy, validity, reliability, availability, or completeness of any information on the Site. Under no circumstance shall we have any liability to you for any loss or damage of any kind incurred as a result of the use of the Site or Reliance on any information provided on the Site. Your use of the Site and your reliance on any information on the Site is solely at your own risk. This blog post is for educational purposes only and does not constitute legal advice. Please consult a legal expert to address your specific needs. Terms and Conditions

Meet Shawn Chun: Entrepreneur and Flower Shop Business Fan.
I’m a happy individual who happens to be an entrepreneur. I have owned several types of businesses in my life from a coffee shop to an import and export business to an online review business plus a few more and now I create online floral business resources for those interested in starting new ventures. It’s demanding work but I love it. I do it for those passionate about their business and their goals. That’s why when I meet a floral business owner at a craft fair, farmers market, retail location, or anywhere else I see myself. I know how hard the struggle is to obtain and retain clients, and finding good employees all while trying to stay competitive. That’s why I created Flower Shop Business Boss: I want to help flower shop business owners like you build a thriving business that brings you endless joy and supports your ideal lifestyle.